Android App Tutorial (Using BB Token)
This tutorial guides you through the process of streaming encrypted content on an Android device and creating a barebones Android ExpressPlay enabled media app to play the content using a Marlin BB token.
Recommended equipment:
- A device that runs on Android 4.0.X or higher
Install the Android SDK
Download the Android SDK; the latest release can be found here: http://developer.android.com./sdk.htmlindex.html
Download the latest ExpressPlay SDK
The latest copy of the ExpressPlay SDK can be found here: https://admin.china.expressplay.cn./sdk.html
Be sure to remember where you saved your file.
Start a new project and reference the ExpressPlay SDK
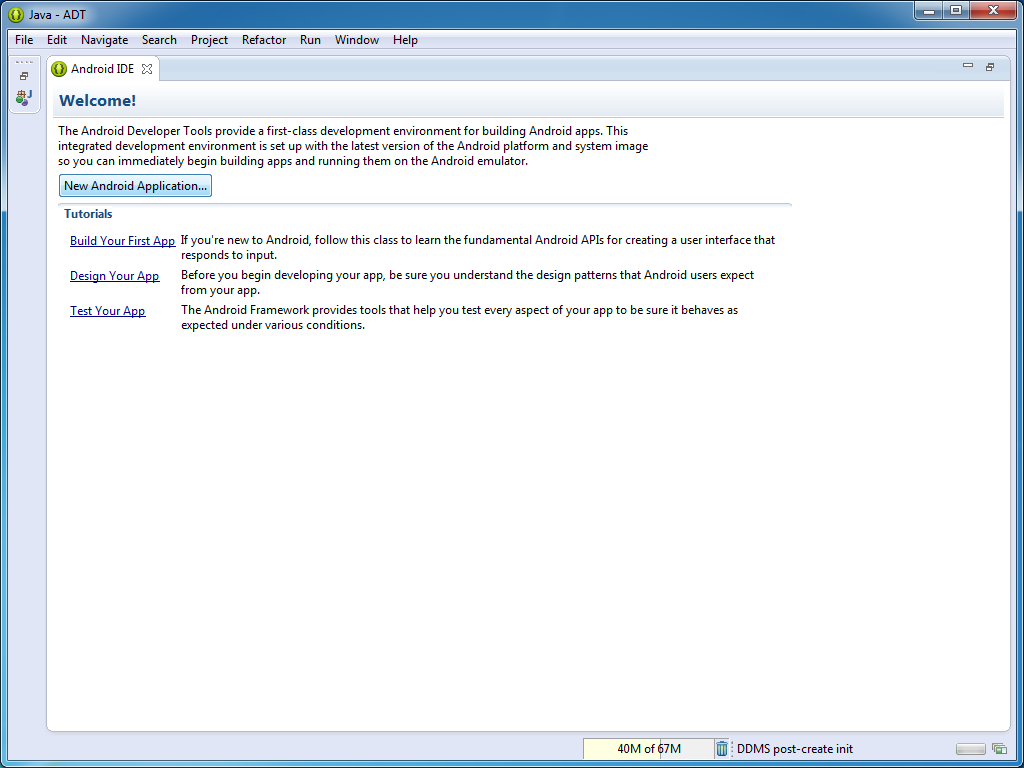
Create a new android application in the Android SDK.
Name the project, following java naming conventions, and continue with the project wizard.
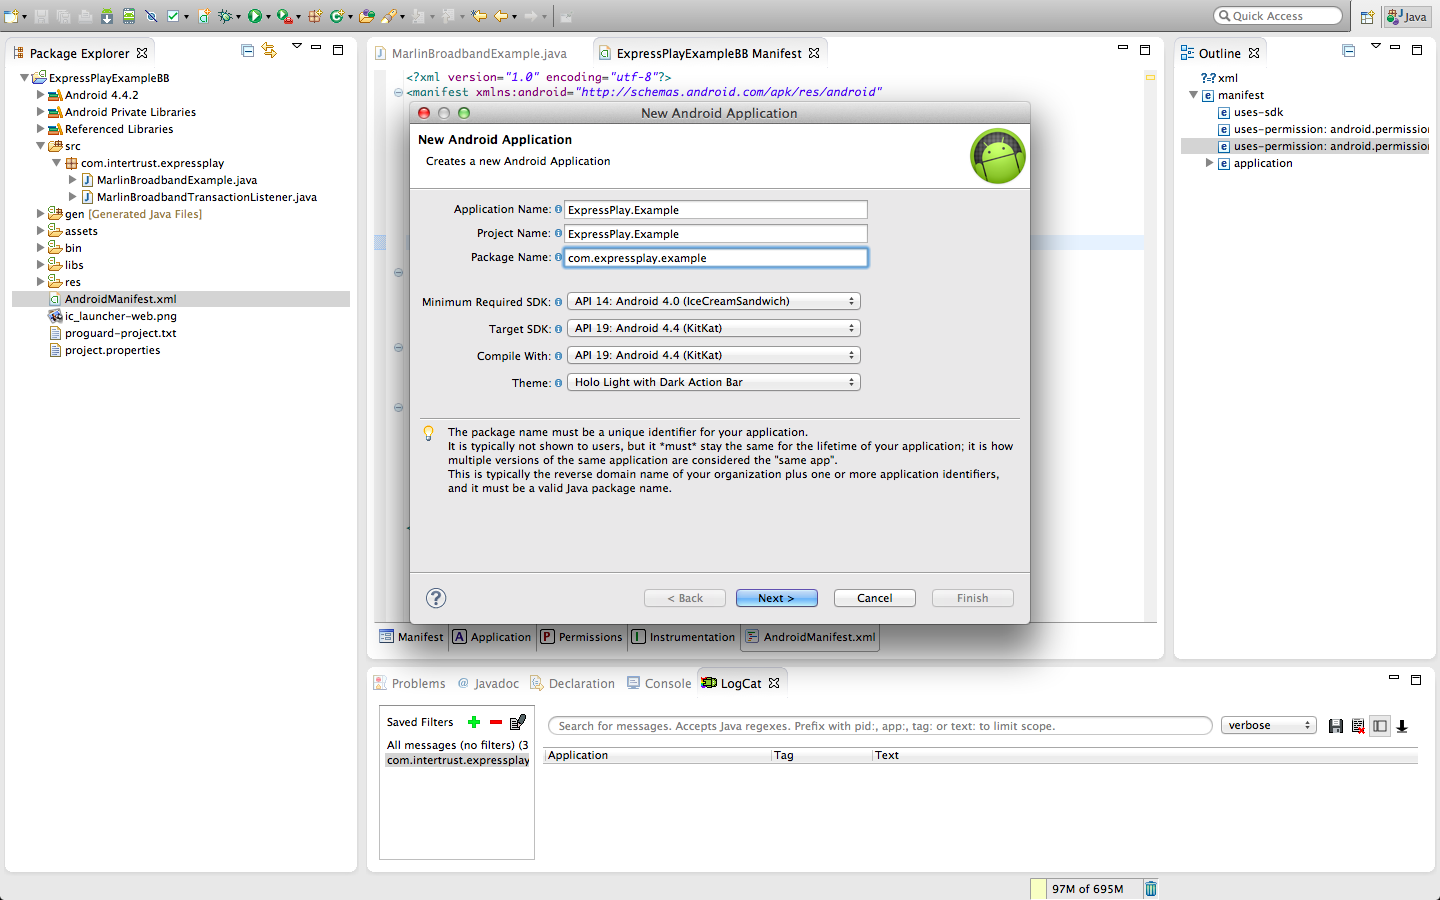
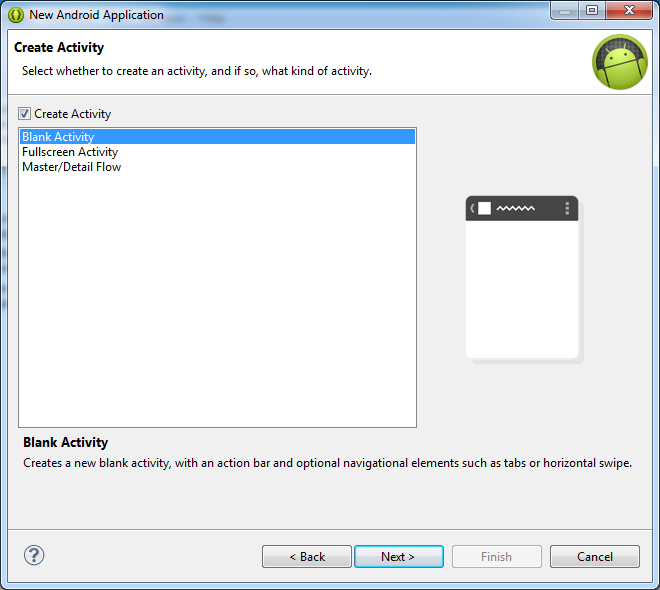
This tutorial uses the Blank Activity, but other types of Activity are fully supported by ExpressPlay.
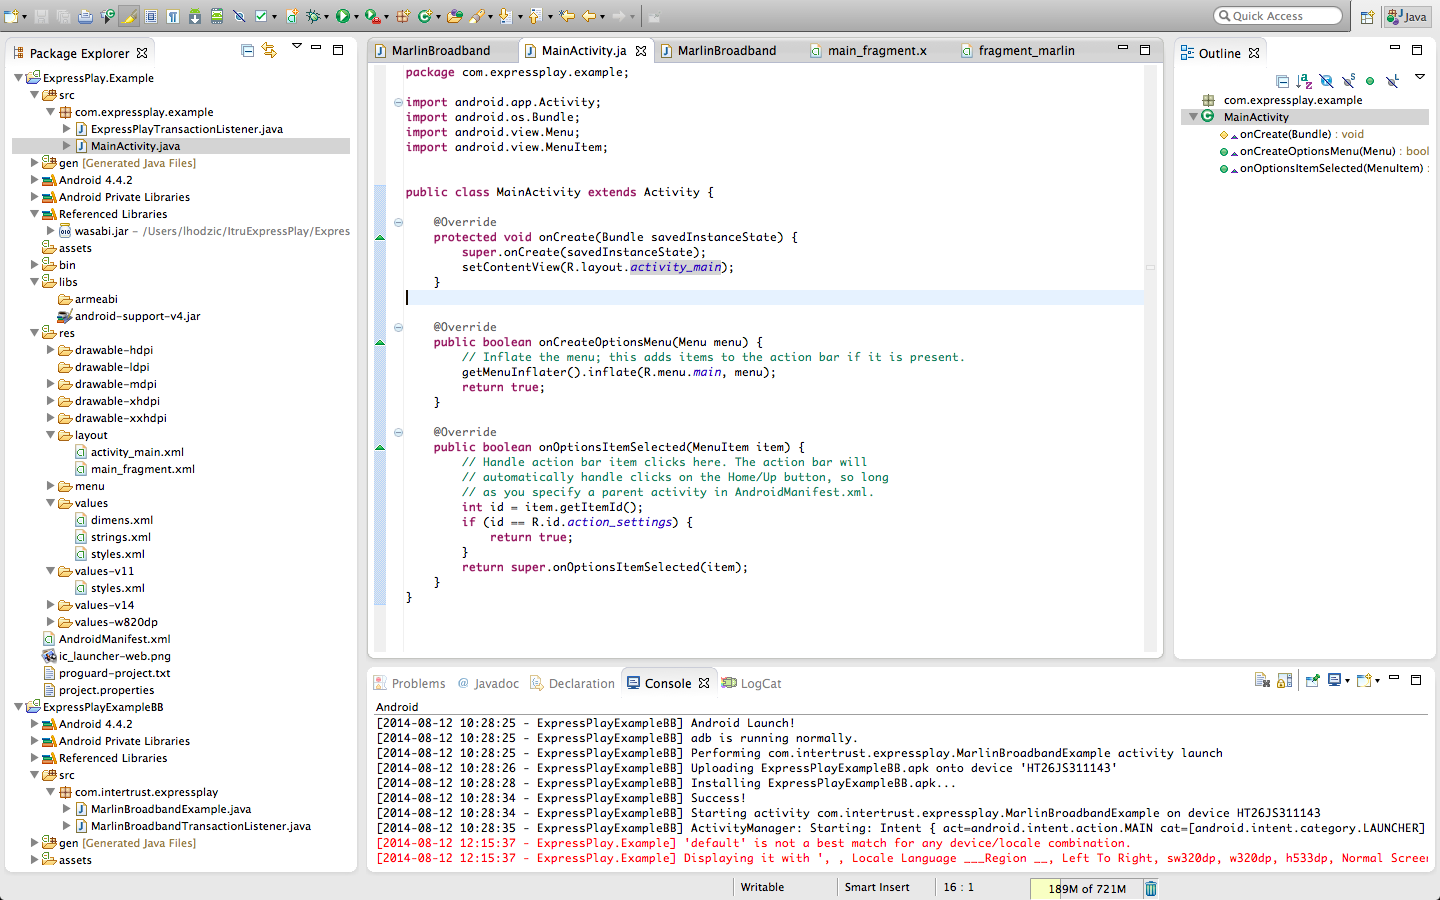
The new project should look like this:
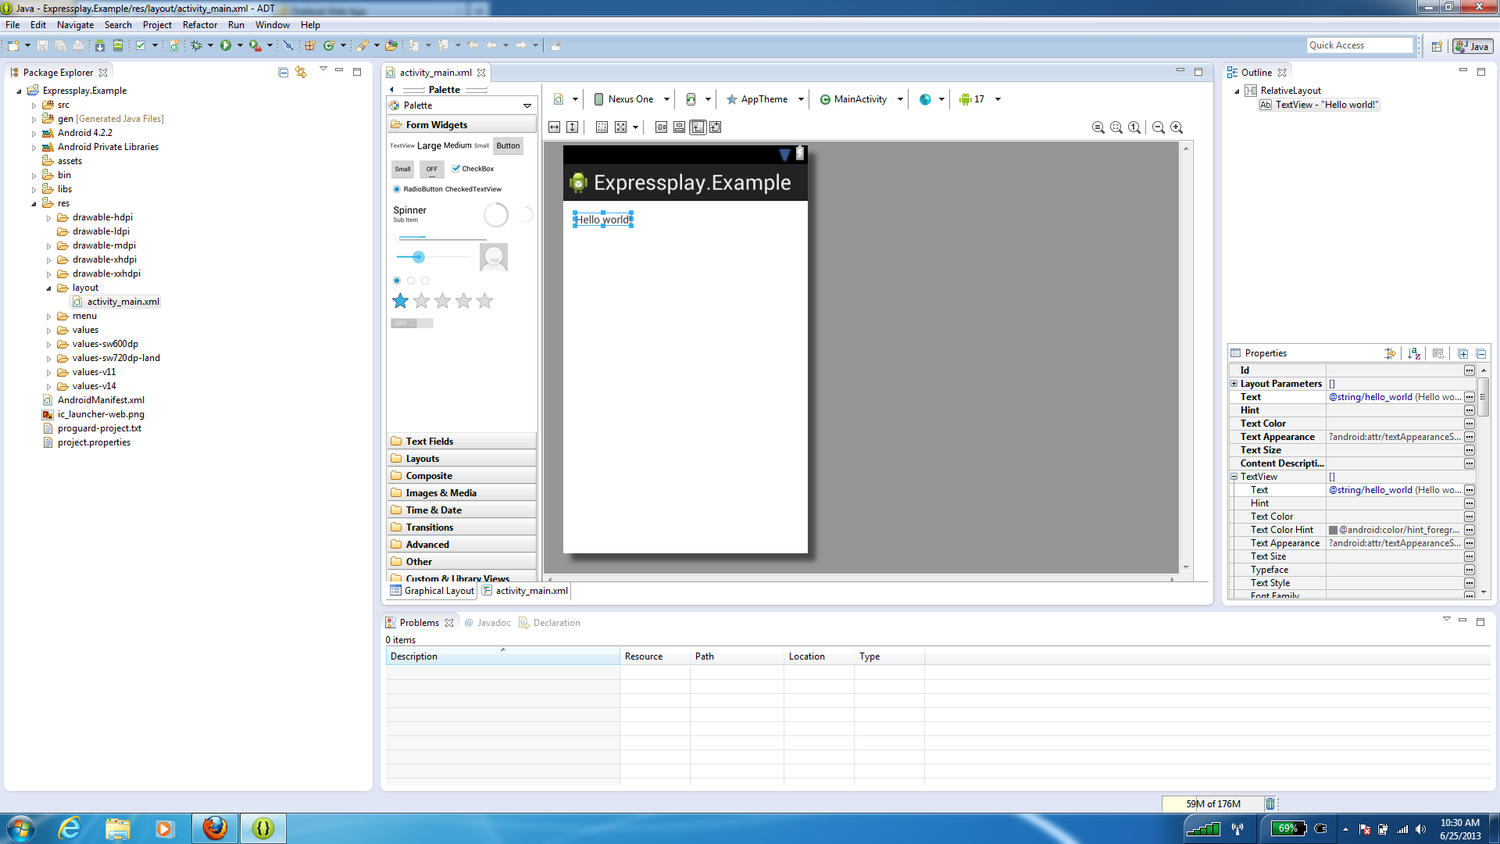
Delete the "Hello World" text box.
Next, create a new Android XML File that will be used to display the video.
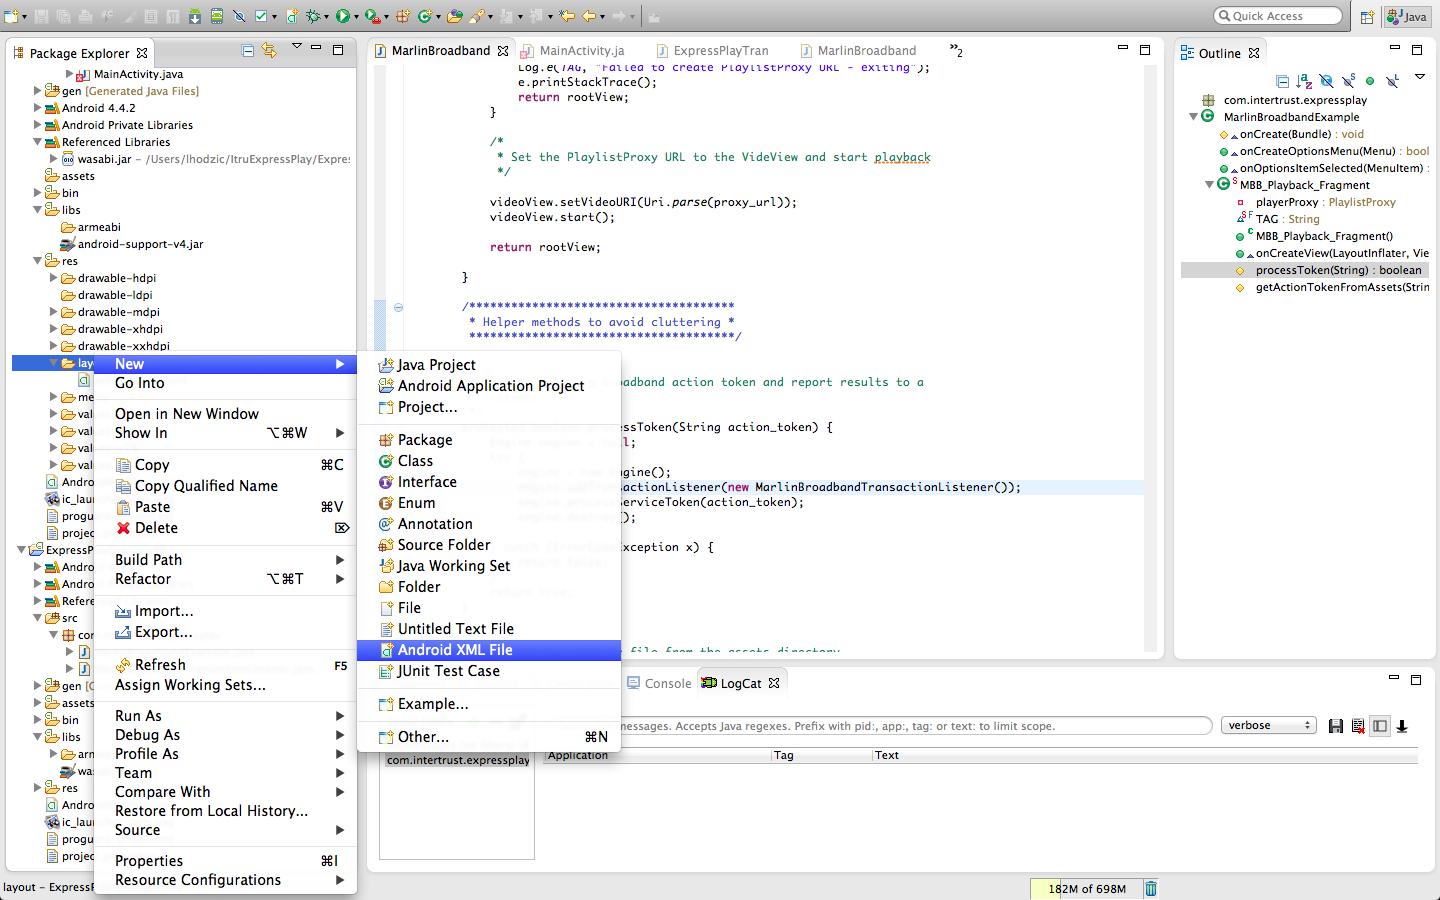
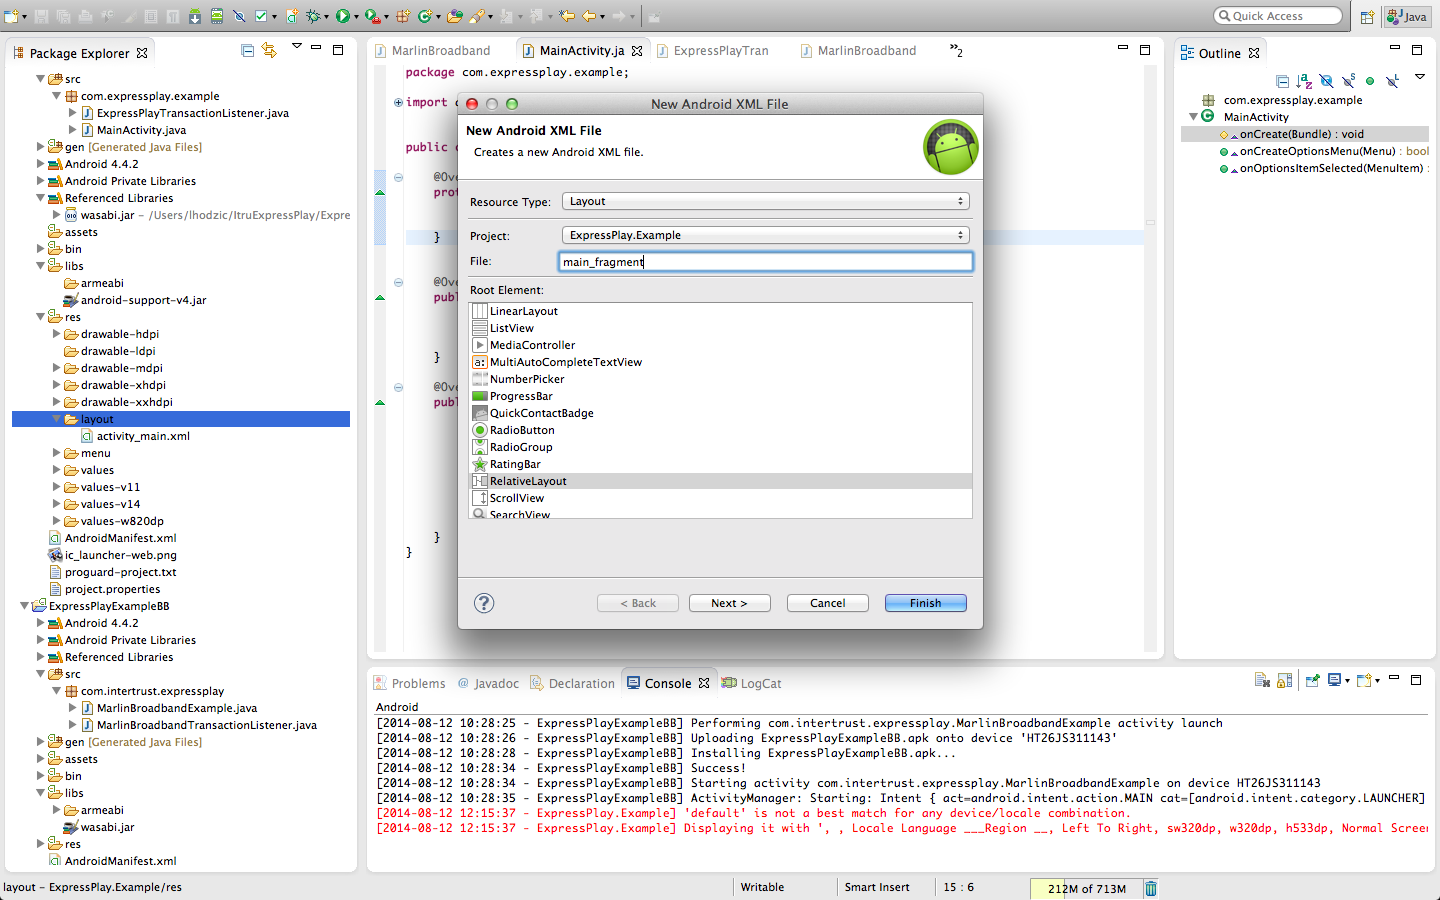
Using standard Java naming conventions, name the XML file. Next, select the Root Layout.
In the example a Relative Layout is used, however, any other Layout type is allowed.
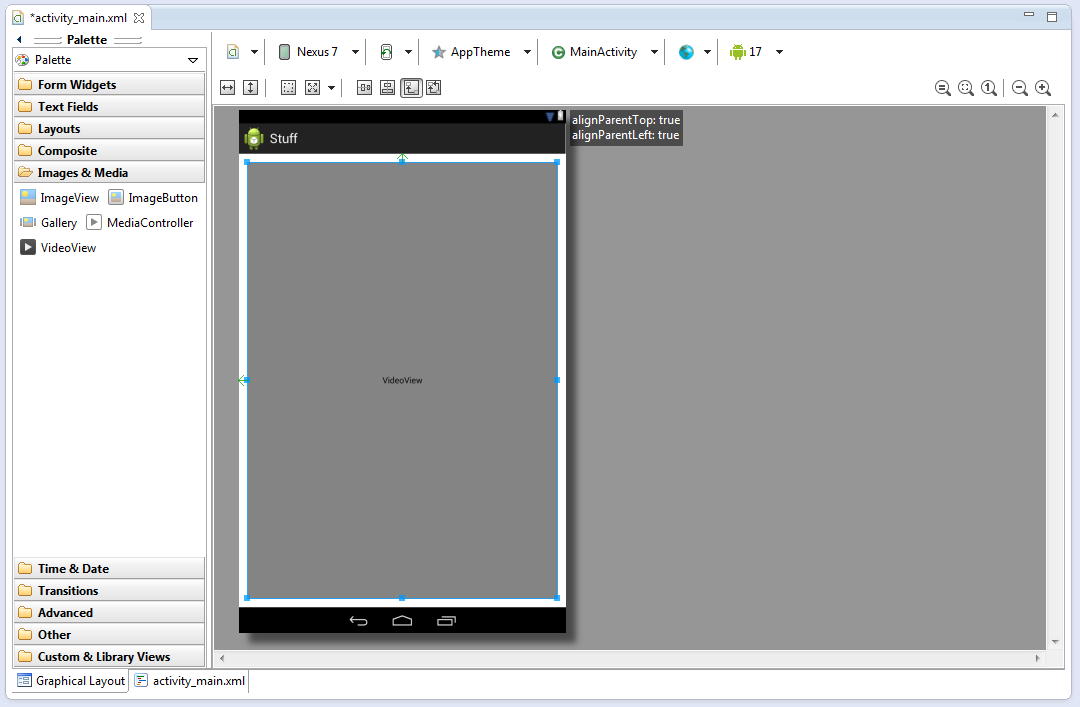
Now that you have the XML file set up, go to 'Images & Media' and drag 'VideoView' into the screen.
Note: You may have to play around with padding to get the spacing exactly like the example, but that is not important to the video playing or working properly.
This project tutorial references external libraries in their original locations, if you want local copies of the libraries in your project, copy them into [your_projects_name]/libs before continuing. Link the ExpressPlay libraries by going to the package explorer, right-clicking on [your_projects_name] and then scrolling down and clicking on Properties.
Click on Java Build Path. Then navigate to Libraries and click on Add External JARs.
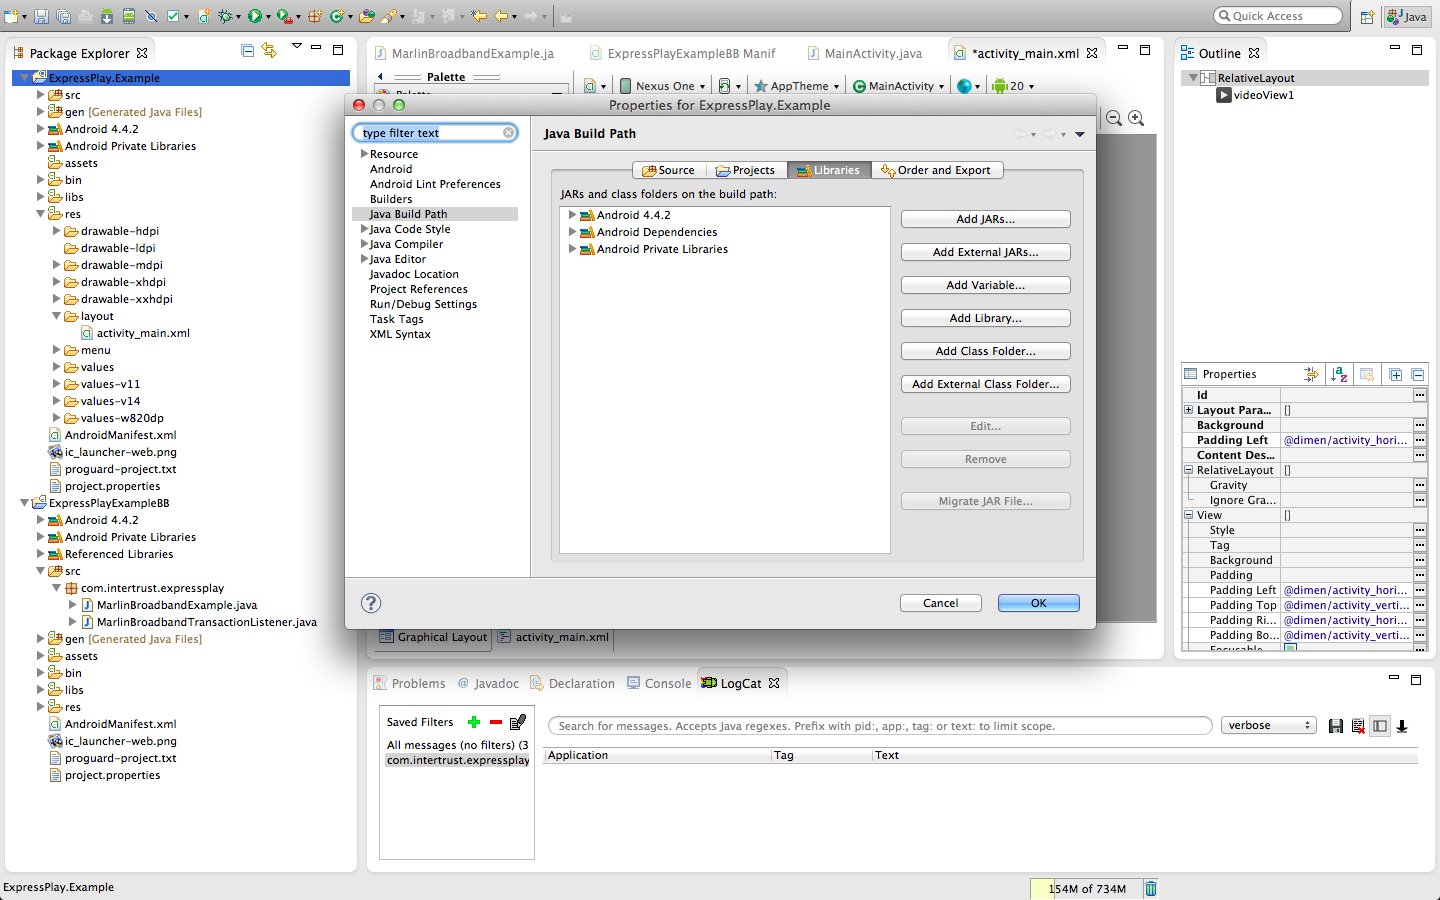
Go to your ExpressPlay test SDK and open it. Find the folder called Library and open it, inside should be a file called wasabi.jar. Click and open the wasabi.jar file. The file should now appear in the build path. Next expand the wasabi.jar file and click on Native library location and then click Edit.

The following pop-up should appear.
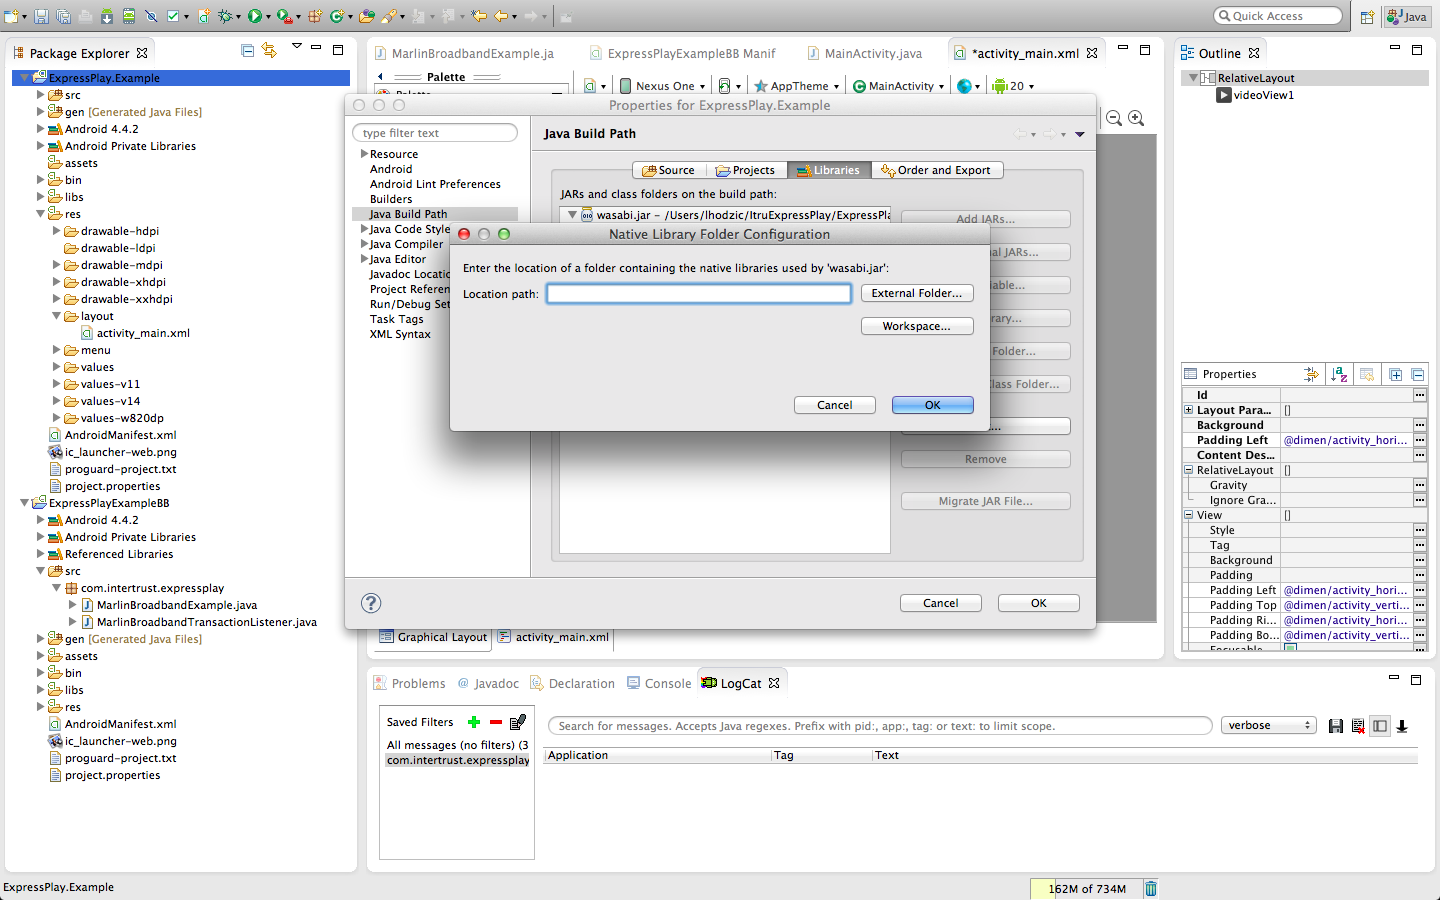
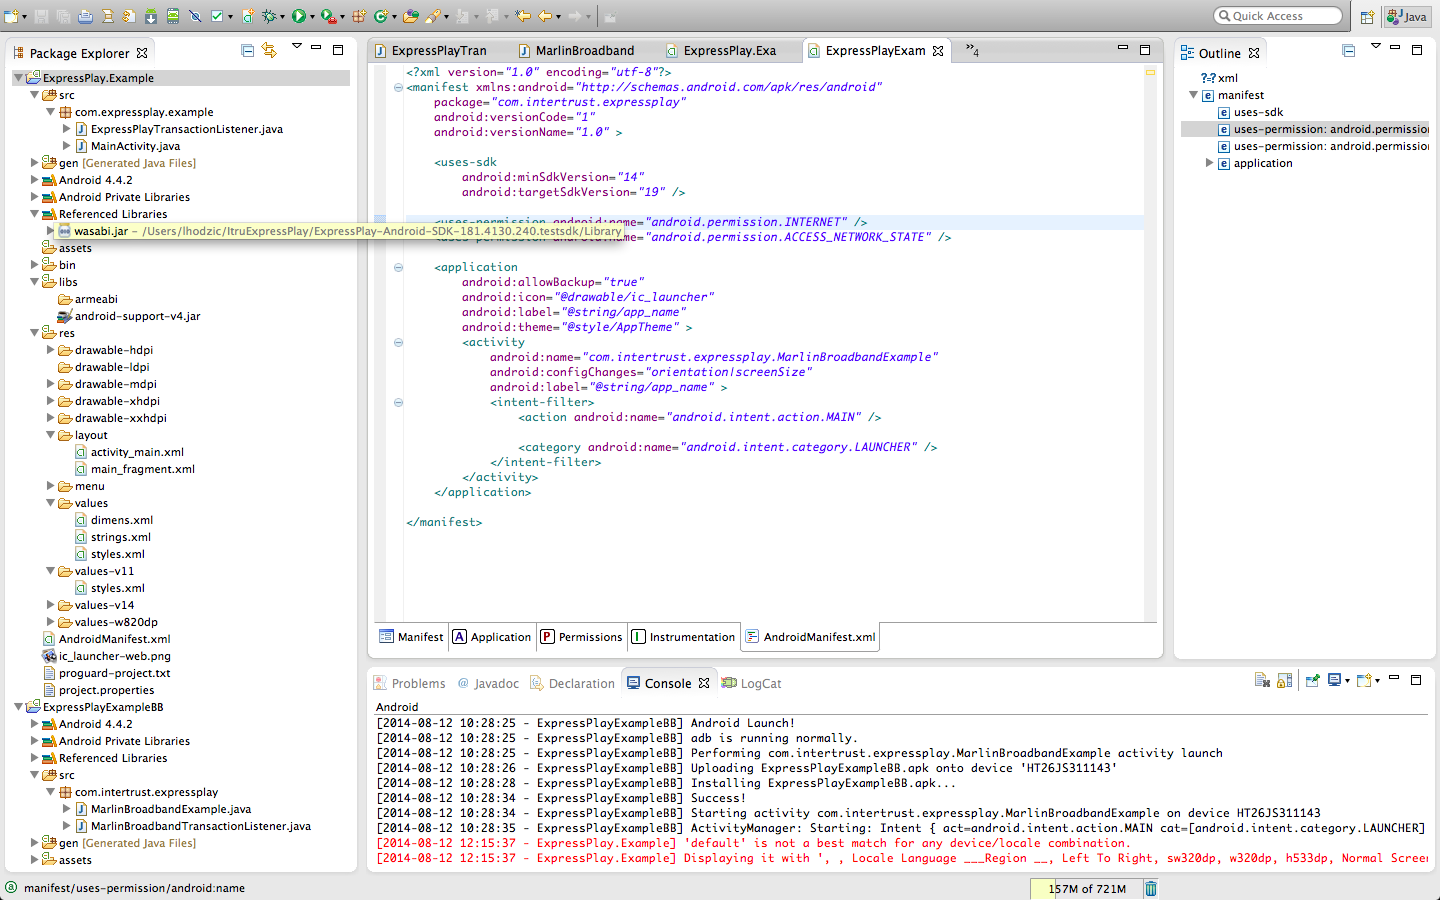
Select External Folder. Go to back to your ExpressPlay test SDK and open the Library folder. Click OK to apply the changes.
The external libraries should now appear in the package explorer under Referenced Libraries.
Importing Dependencies and Initializing Variables
Use the package explorer to go to [your_projects_name]/src/com.[your_packages_name].[your_projects_name] and open the MainActivity.java file.
Multiple files must be imported into your project for it to be able to use ExpressPlay functions. Copy and paste the block below under the line import android.view.MenuItem;.
import java.io.ByteArrayOutputStream;
import java.io.IOException;
import java.io.InputStream;
import android.app.Fragment;
import android.net.Uri;
import android.util.Log;
import android.view.LayoutInflater;
import android.view.View;
import android.view.ViewGroup;
import android.widget.MediaController;
import android.widget.VideoView;

import com.intertrust.wasabi.ErrorCodeException;
import com.intertrust.wasabi.drm.Engine;
import com.intertrust.wasabi.media.PlaylistProxy;
import com.intertrust.wasabi.media.PlaylistProxy.MediaSourceParams;
import com.intertrust.wasabi.media.PlaylistProxy.MediaSourceType;
OnCreate Method
Next, paste the following code into the onCreate method after setContentView(R.layout.activity_main);
if (savedInstanceState == null) {
                        getFragmentManager().beginTransaction()
                         .add(R.id.container, new MBB_Playback_Fragment()).commit();
		}
This code will allow the app to use the second Android XML File you created to playback the video.
Personalization and Token Processor
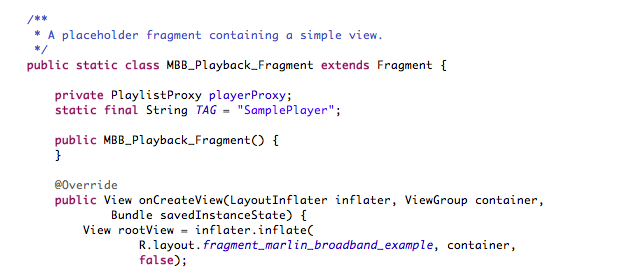
Copy and paste the following code after the onCreate method. This will instruct the app to do personalization and then stream a video
through the VideoView in the xml file created.
/**
* A placeholder fragment containing a simple view.
*/
public static class MBB_Playback_Fragment extends Fragment {
private PlaylistProxy playerProxy;
static final String TAG = "SamplePlayer";
public MBB_Playback_Fragment() {
}
@Override
public View onCreateView(LayoutInflater inflater, ViewGroup container,
Bundle savedInstanceState) {
View rootView = inflater.inflate(
R.layout.main_fragment, container,
false);
/*
* Create a VideView for playback
*/
VideoView videoView = (VideoView) rootView
.findViewById(R.id.videoView);
MediaController mediaController = new MediaController(
getActivity(), false);
mediaController.setAnchorView(videoView);
videoView.setMediaController(mediaController);
/*
* Initialize the Wasabi Runtime (necessary only once for each
* instantiation of the application)
*/
try {
com.intertrust.wasabi.Runtime.initialize(getActivity().getDir(
"wasabi", MODE_PRIVATE).getAbsolutePath());
Engine engine = new Engine();
if (!engine.isPersonalized()) {
long start = System.currentTimeMillis();
engine.personalize(null);
Log.i(TAG, "Wasabi successfully personalized in (ms): "
+ (System.currentTimeMillis() - start));
}
engine.destroy();
} catch (Exception e) {
e.printStackTrace();
Log.e(TAG, "Wasabi failed personalization - exiting");
return rootView;
}
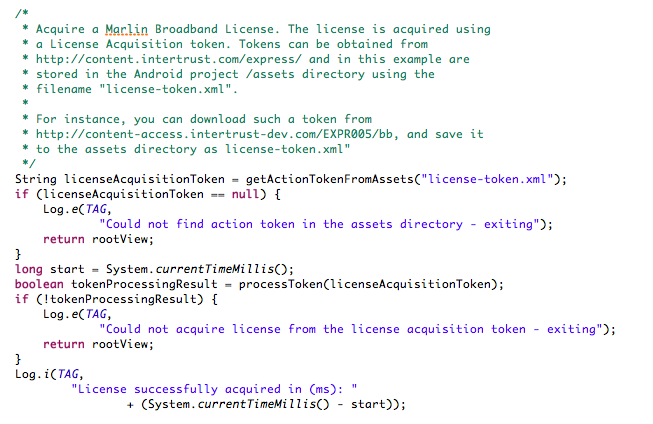
/*
* Acquire a Marlin Broadband License. The license is acquired using
* a License Acquisition token. Tokens can be obtained from
* http://content.intertrust.com/express/ and in this example are
* stored in the Android project /assets directory using the
* filename "license-token.xml".
*
* For instance, you can download such a token from
* http://content-access.intertrust-dev.com/EXPR005/bb, and save it
* to the assets directory as license-token.xml"
*/
String licenseAcquisitionToken = getActionTokenFromAssets("license-token.xml");
if (licenseAcquisitionToken == null) {
Log.e(TAG,
"Could not find action token in the assets directory - exiting");
return rootView;
}
long start = System.currentTimeMillis();
boolean tokenProcessingResult = processToken(licenseAcquisitionToken);
if (!tokenProcessingResult) {
Log.e(TAG,
"Could not acquire license from the license acquisition token - exiting");
return rootView;
}
Log.i(TAG,
"License successfully acquired in (ms): "
+ (System.currentTimeMillis() - start));
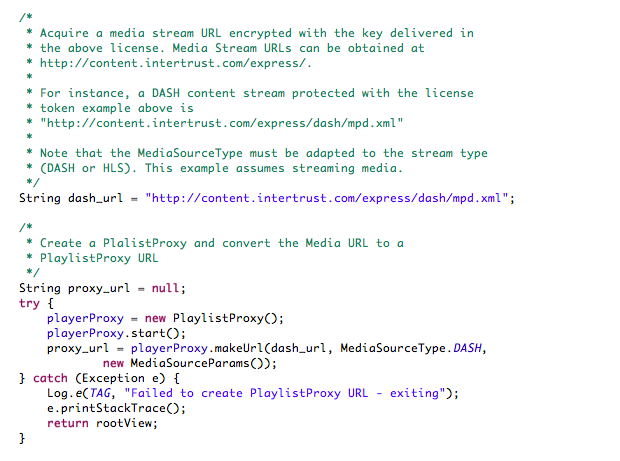
/*
* Acquire a media stream URL encrypted with the key delivered in
* the above license. Media Stream URLs can be obtained at
* http://content.intertrust.com/express/.
*
* For instance, a DASH content stream protected with the license
* token example above is
* "http://content.intertrust.com/express/dash/mpd.xml"
*
* Note that the MediaSourceType must be adapted to the stream type
* (DASH or HLS). This example assumes streaming media.
*/
String dash_url = "http://content.intertrust.com/express/dash/mpd.xml";
/*
* Create a PlalistProxy and convert the Media URL to a
* PlaylistProxy URL
*/
String proxy_url = null;
try {
playerProxy = new PlaylistProxy();
playerProxy.start();
proxy_url = playerProxy.makeUrl(dash_url, MediaSourceType.DASH,
new MediaSourceParams());
} catch (Exception e) {
Log.e(TAG, "Failed to create PlaylistProxy URL - exiting");
e.printStackTrace();
return rootView;
}
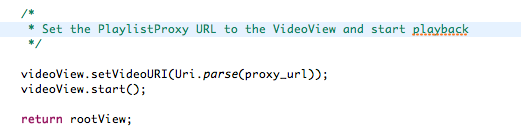
/*
* Set the PlaylistProxy URL to the VideView and start playback
*/
videoView.setVideoURI(Uri.parse(proxy_url));
videoView.start();
return rootView;
}
/**************************************
* Helper methods to avoid cluttering *
**************************************/
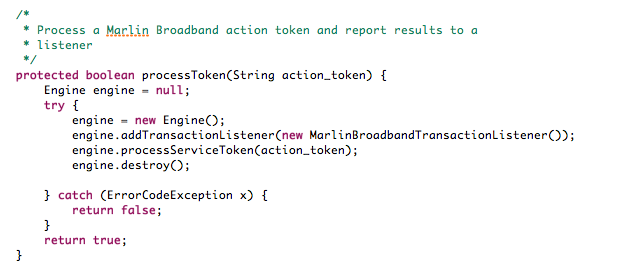
/*
* Process a Marlin Broadband action token and report results to a
* listener
*/
protected boolean processToken(String action_token) {
Engine engine = null;
try {
engine = new Engine();
engine.addTransactionListener(new ExpressPlayTransactionListener());
engine.processServiceToken(action_token);
engine.destroy();
} catch (ErrorCodeException x) {
return false;
}
return true;
}
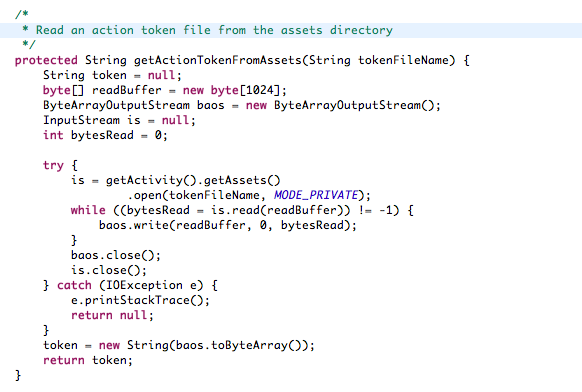
/*
* Read an action token file from the assets directory
*/
protected String getActionTokenFromAssets(String tokenFileName) {
String token = null;
byte[] readBuffer = new byte[1024];
ByteArrayOutputStream baos = new ByteArrayOutputStream();
InputStream is = null;
int bytesRead = 0;
try {
is = getActivity().getAssets()
.open(tokenFileName, MODE_PRIVATE);
while ((bytesRead = is.read(readBuffer)) != -1) {
baos.write(readBuffer, 0, bytesRead);
}
baos.close();
is.close();
} catch (IOException e) {
e.printStackTrace();
return null;
}
token = new String(baos.toByteArray());
return token;
}
}
Now let's take a look at what the code does.
The onCreateView begins by setting the content to the xml file created with the VideoView inside it.
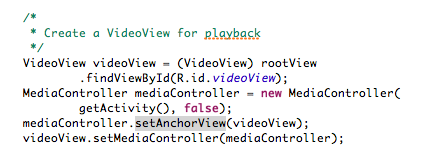
Next, the VideoView is set up.
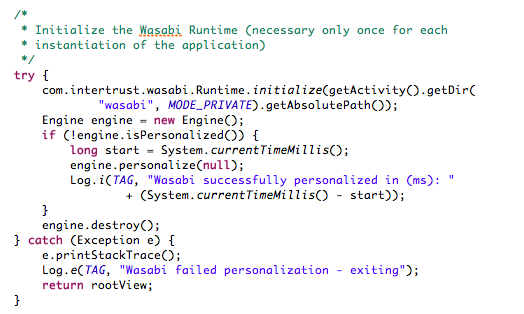
Then, personalization.
Then, the Marlin Broadband License is acquired. Following the comments in the code, get a License Acquisition Token by clicking here
and saving the file in "license-token.xml". Save this file in the assets folder of your Android Application Project.
Note: After some time, this license will expire. But a new one can be acquired following the same process.
Then, get the media stream URL. This URL is encrypted with the key found in the above license token. Create the PlaylistProxy URL used by the VideoView.
Then, set the VideoView to play from the PlaylistProxy URL.
The following two methods acquire the token from the license-token.xml file located in the assets folder.
Token Processing Manager
Create a new class named ExpressPlayTransactionListener that implements TransactionListener. This class is used to acquire and read the Marlin Broadband Action Token.
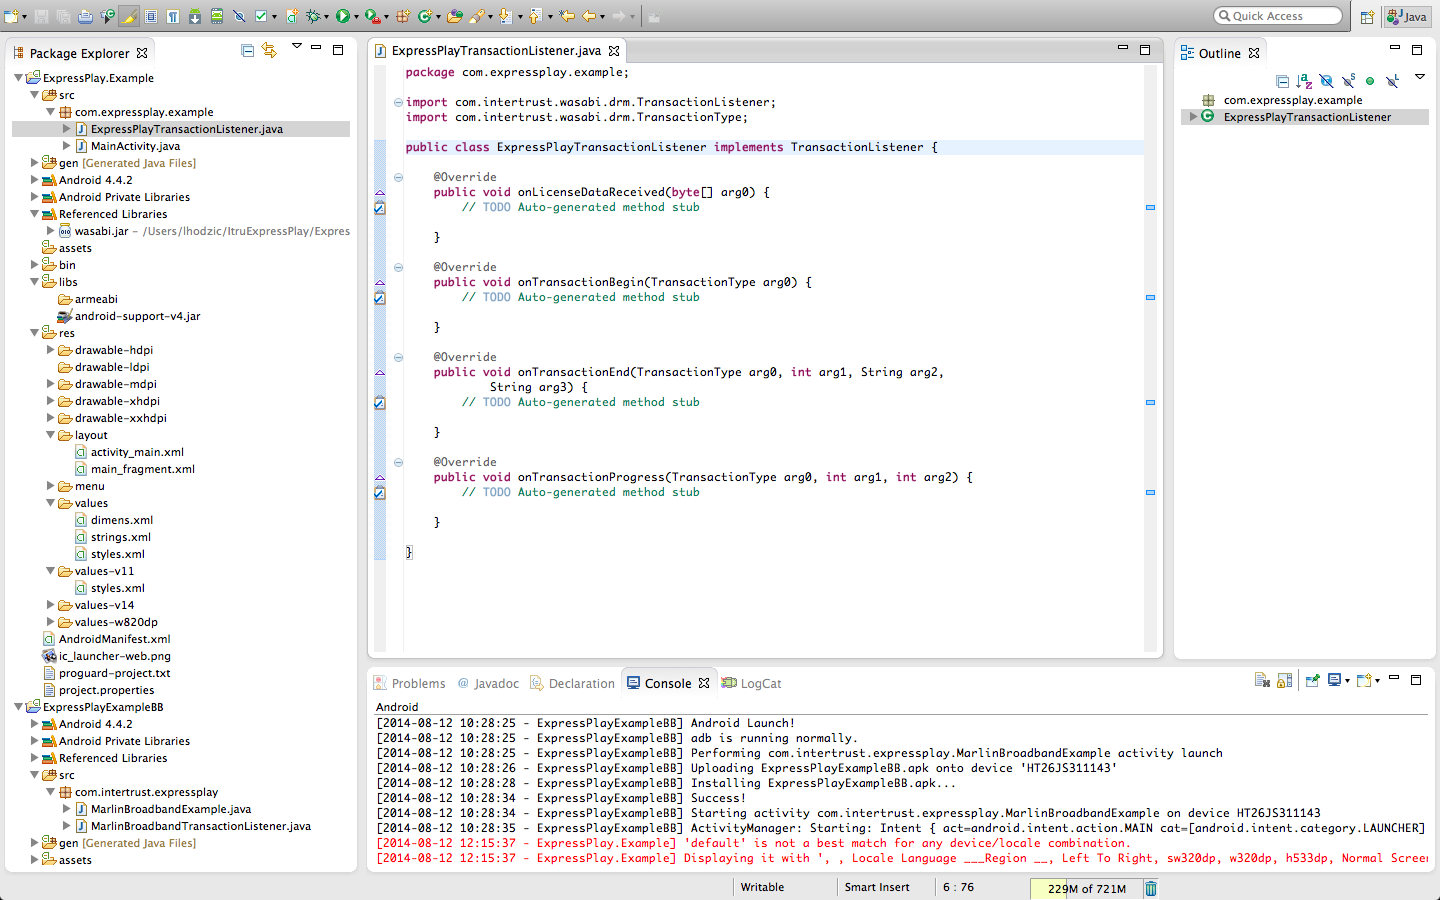
Copy the following imports after the import com.intertrust.wasabi.drm.TransactionType;
import android.util.Log;
import com.intertrust.wasabi.ErrorCodeException;
import com.intertrust.wasabi.licensestore.LicenseStore;
Copy the following variable used to log information in the LogCat.
static final String TAG = "Listener";
Copy and replace the onLicenseDataReceived and onTransactionEnd methods with the following.
/*
	 * Saves license to the license store when processing complete
	 */
	public void onLicenseDataReceived(byte[] data) {

		try {
			LicenseStore license_store = new LicenseStore();
			String license = new String(data);
			license_store.addLicense(license, "");
			license_store.close();
		} catch (ErrorCodeException x) {
			Log.e(TAG,
			        "Failed to create License store: "
			                + x.getLocalizedMessage());
		}

	}

	public void onTransactionEnd(TransactionType transactionType,
	        int resultCode, String resultString, String serviceFault) {

		Log.i(TAG, "END transaction of type " + transactionType
		        + "\tresult code" + resultCode + "\tresult string "
		        + resultString);

	}
Copy and paste the following into the onTransactionBegin method. Rename the first parameter to transactionType
Log.i(TAG, "BEGIN transaction of type " + transactionType);
Copy and paste the following into the onTransactionProgress method. Rename the first parameter to transactionType.
Log.i(TAG, "PROGRESS (notification of) transaction of type "
		        + transactionType);
Permission
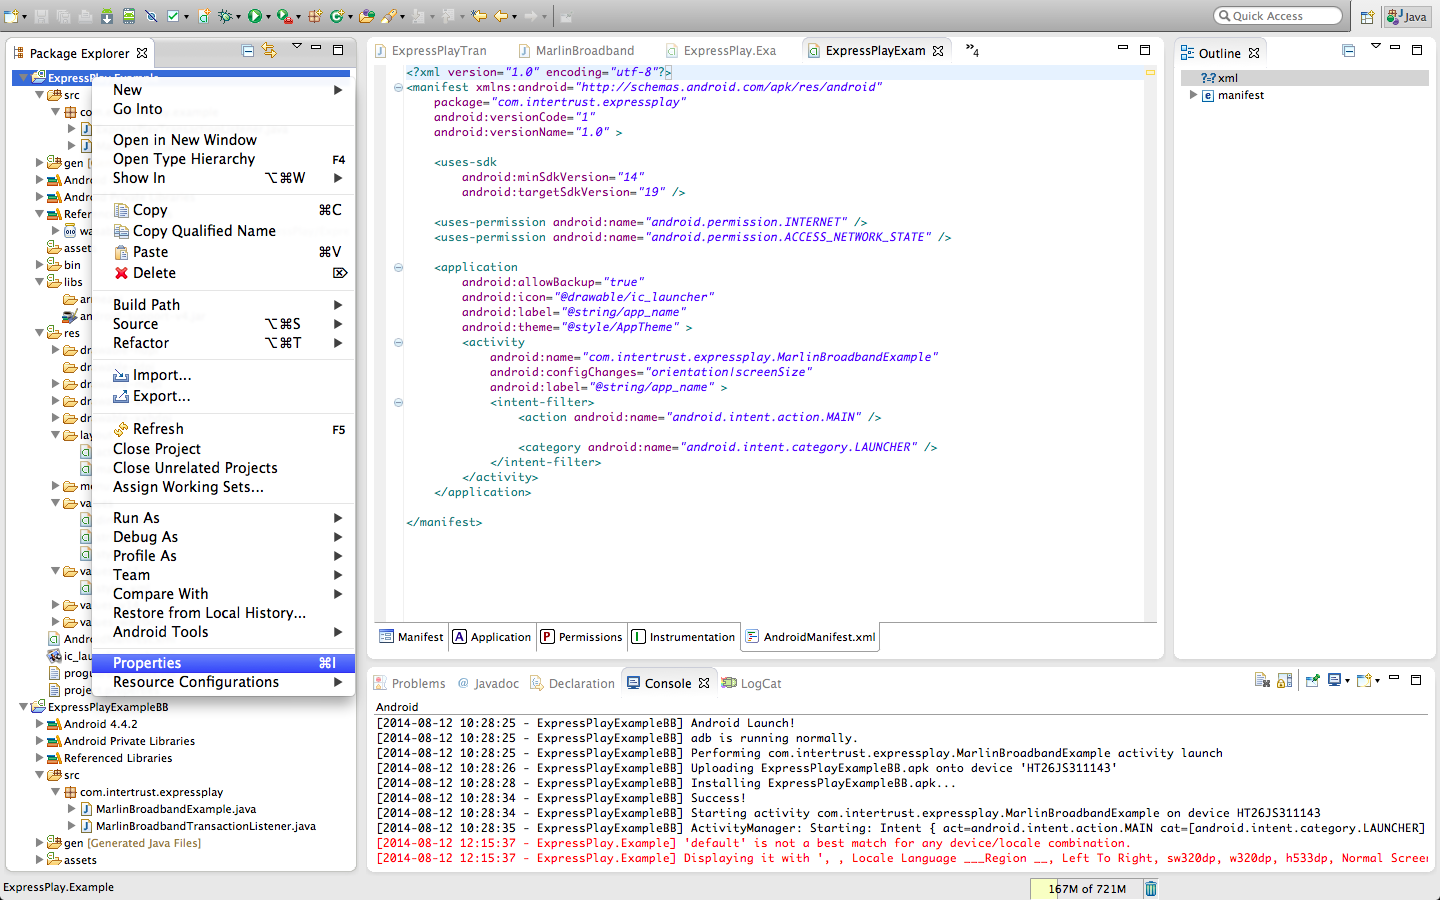
Go to the package explorer and open 'AndroidManifest.xml'. Go to the actual xml code.
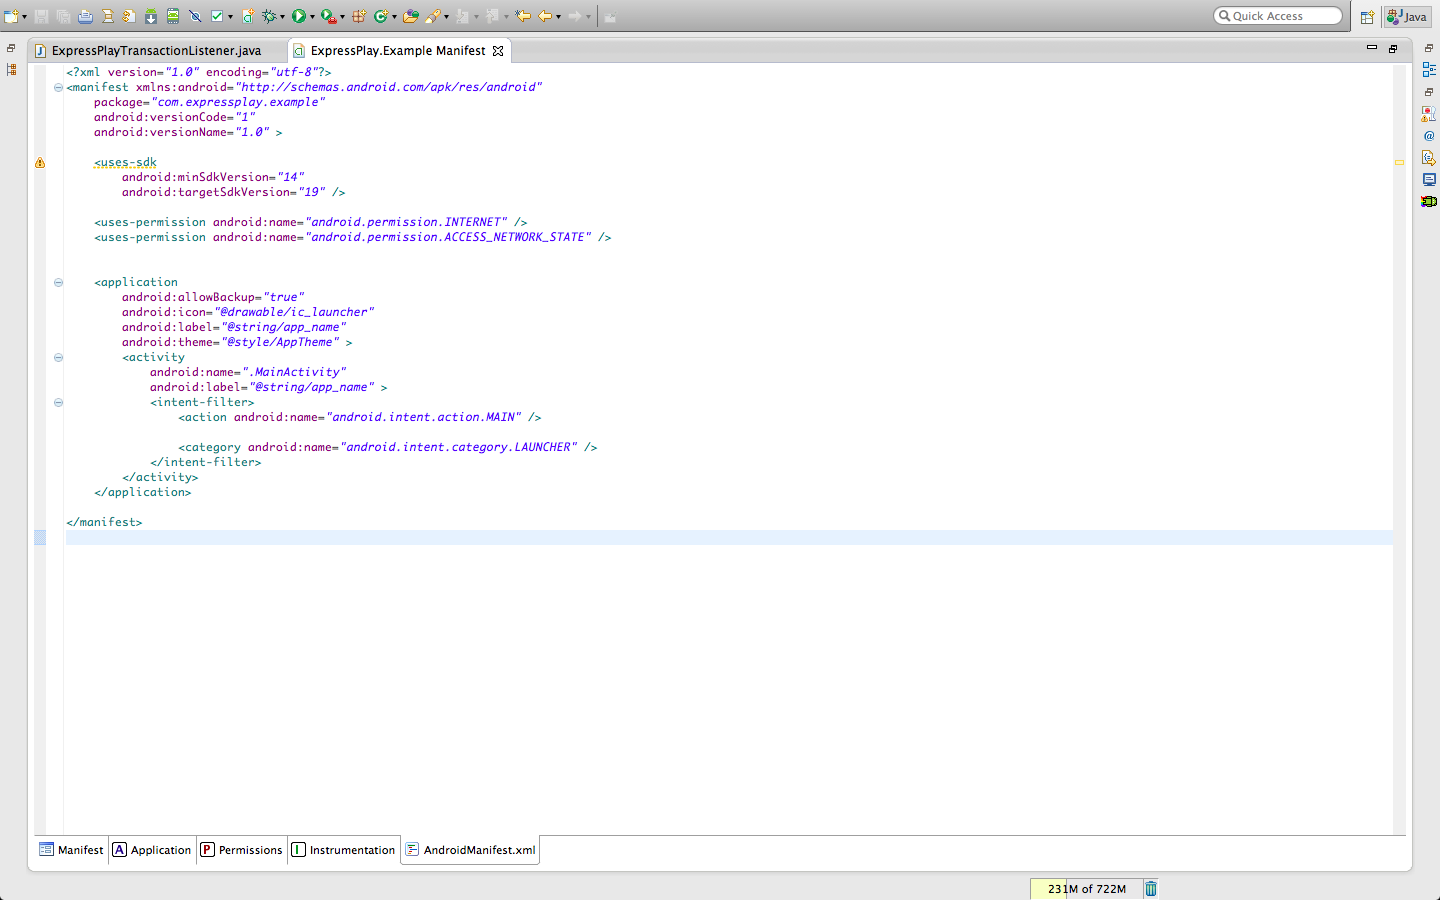
To give the ExpressPlay SDK internet permission as well as permission to write to the external storage of the Android device, add the following code block in between android:targetSdkVersion="17"/> and <application as shown in the picture above.
<uses-permission android:name="android.permission.INTERNET"></uses-permission>
<uses-permission android:name="android.permission.ACCESS_NETWORK_STATE"></uses-permission>
Now the code is ready to run.
Note: If you are using an android virtual machine, as opposed to an actual device, the video may not work, but the audio will.