Android App Tutorial
This tutorial guides you through the process of creating a simple ExpressPlay-enabled app to play encrypted video streams using a Marlin MS3 token.
Recommended equipment:
- A device that runs on Android 4.0.X or higher

Install the Android SDK
If you don't already have the Android SDK. You can download the SDK here. The remainder of this example assumes the use of the Eclipse based IDE included in the Android ADT Bundle.
Download the latest ExpressPlay SDK
The latest version of the ExpressPlay SDK can be found here.
Be sure to remember where you saved your file.
Start a new project and reference the ExpressPlay SDK/p>
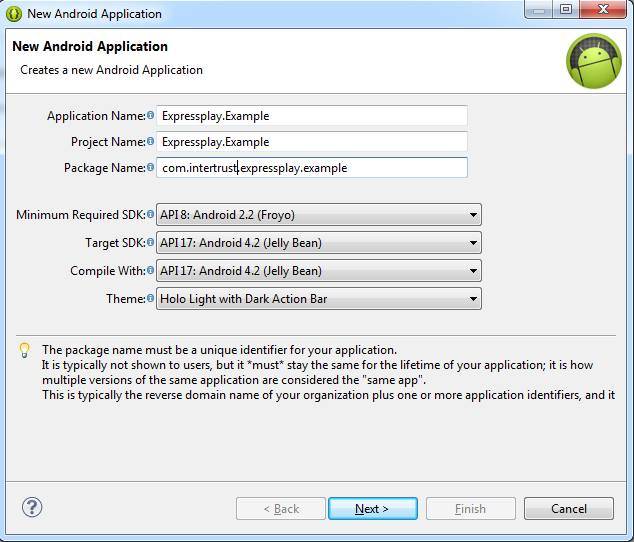
Create a new android application in the Android SDK.
Name the project, following Java naming conventions, and continue with the project wizard.
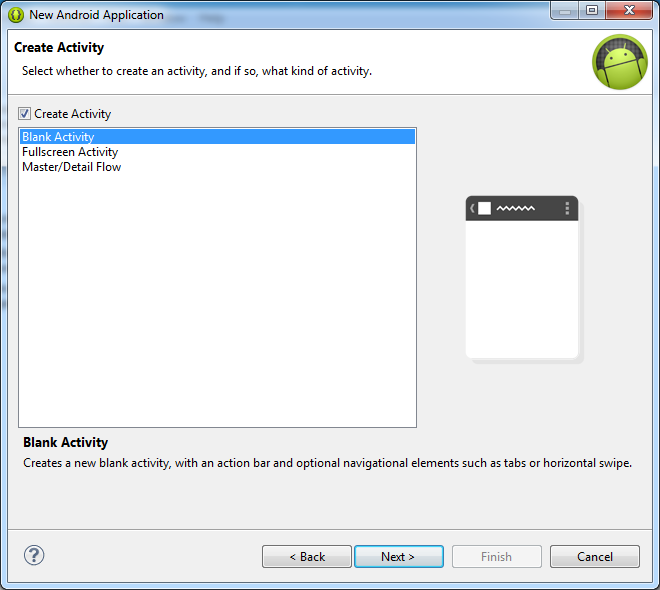
This tutorial uses the blank activity, but other types of activities are fully supported by ExpressPlay.
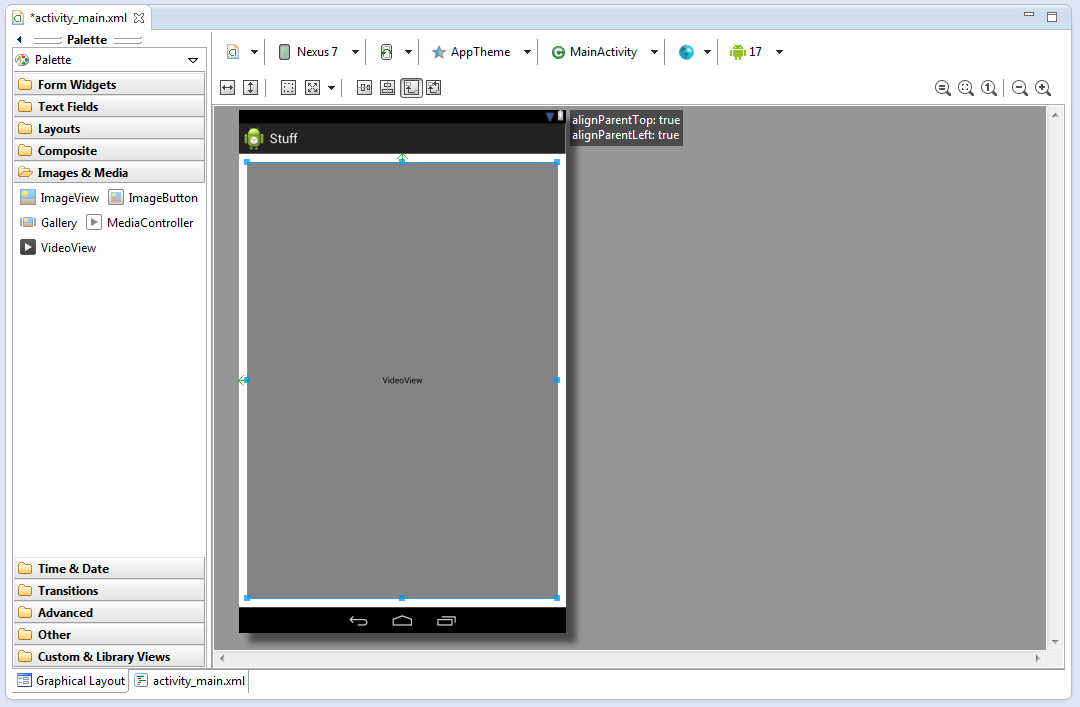
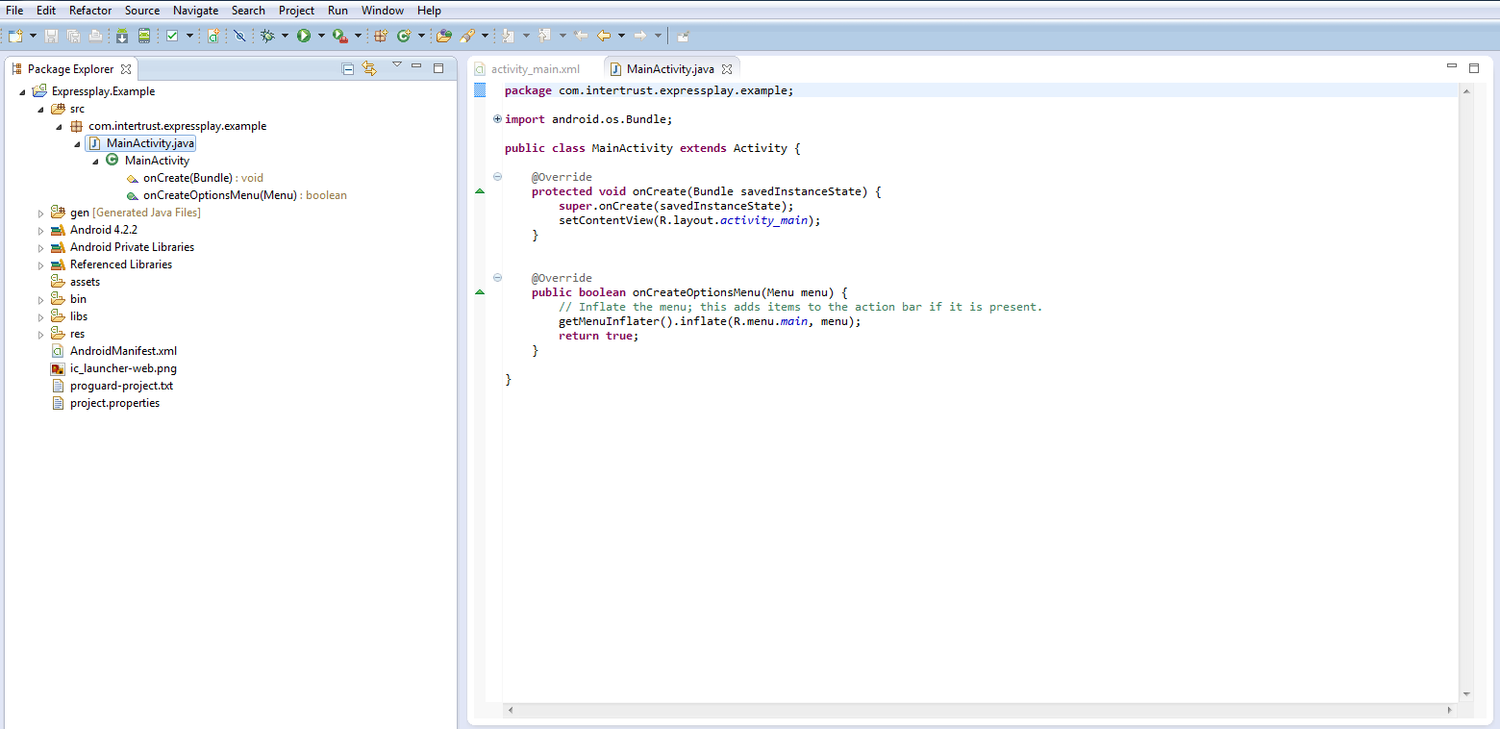
The new project should look like the example below.
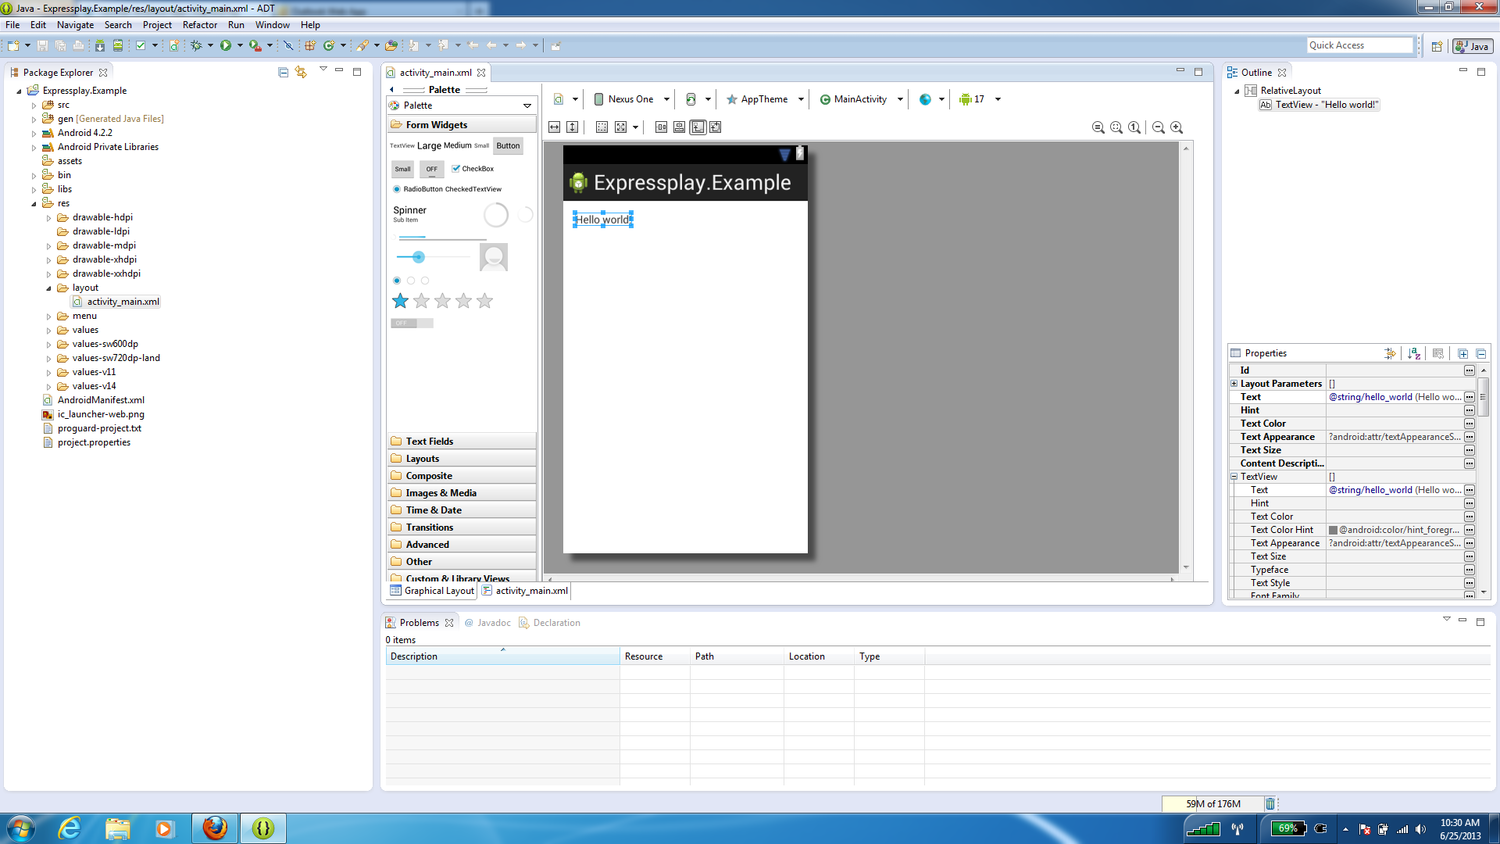
Delete the Hello World text box. Go to Images & Media and drag VideoView into the Android virtual device.
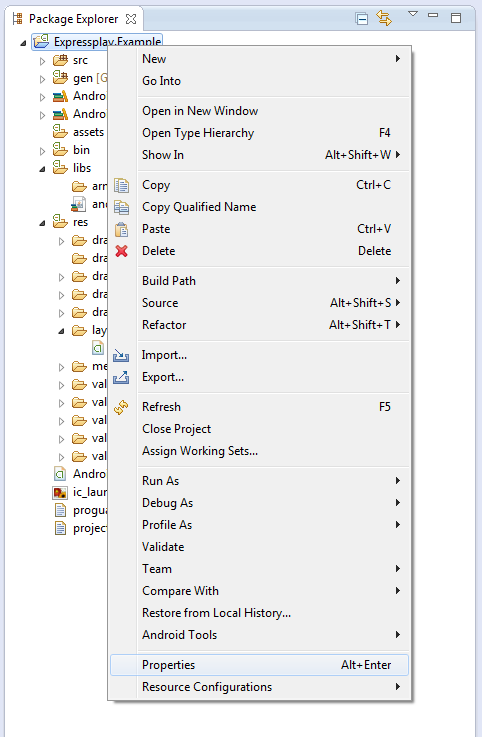
This tutorial project references external libraries in their original locations. If you want local library copies in your project or if you get an unsatisfied link error during run time then copy them into [your_projects_name]/libs before continuing. Link the ExpressPlay libraries by going to the package explorer, right-clicking on [your_projects_name] and then scrolling down and clicking on Properties.
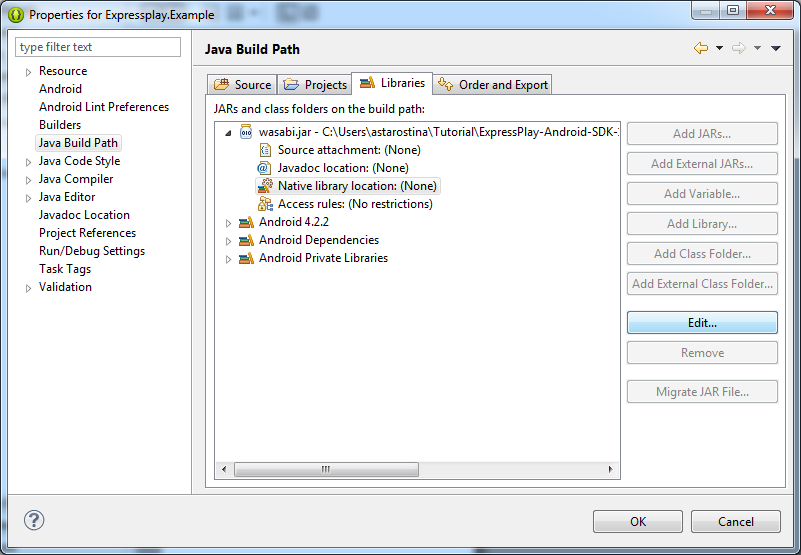
Click on Java Build Path. Then navigate to Libraries and click on Add External JARs.
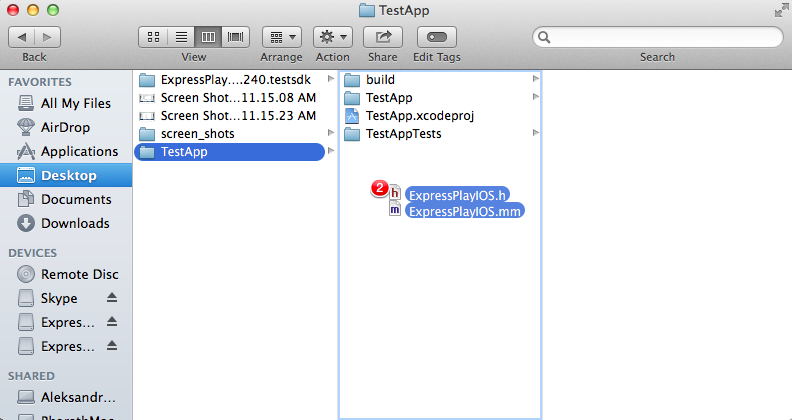
Go to your downloaded copy of the ExpressPlay Test SDK, decompress the *.zip file, and open the newly created folder. Find the subfolder called Library and open it. Inside the folder there is a file called wasabi.jar. Click and open the wasabi.jar file. The file should now appear in the build path. Next expand the wasabi.jar file and click Native library location and then click Edit.
The following pop-up should display.
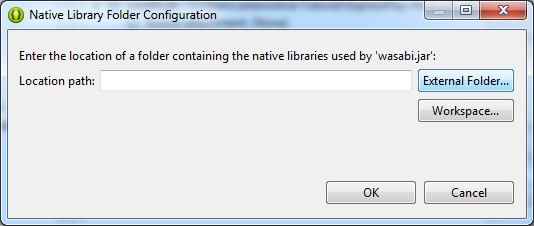
Select External Folder. Go to back to your ExpressPlay Test SDK and open the Library folder. Ensure that you see both thewasabi.jar and the libWasabiJni.so files in that folder and apply the changes.
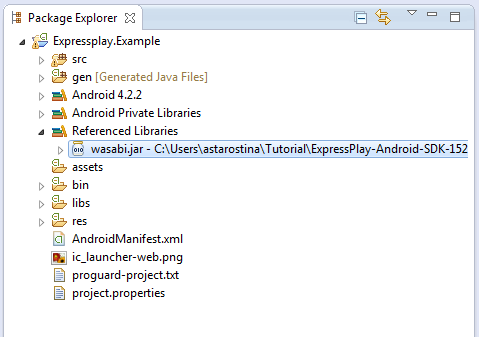
The external libraries should now appear in the package explorer under Referenced Libraries.
Importing Dependencies and Initializing Variables
Use the package explorer to go to [your_projects_name]/src/com.[your_packages_name].[your_projects_name] and open theMainActivity.java file.
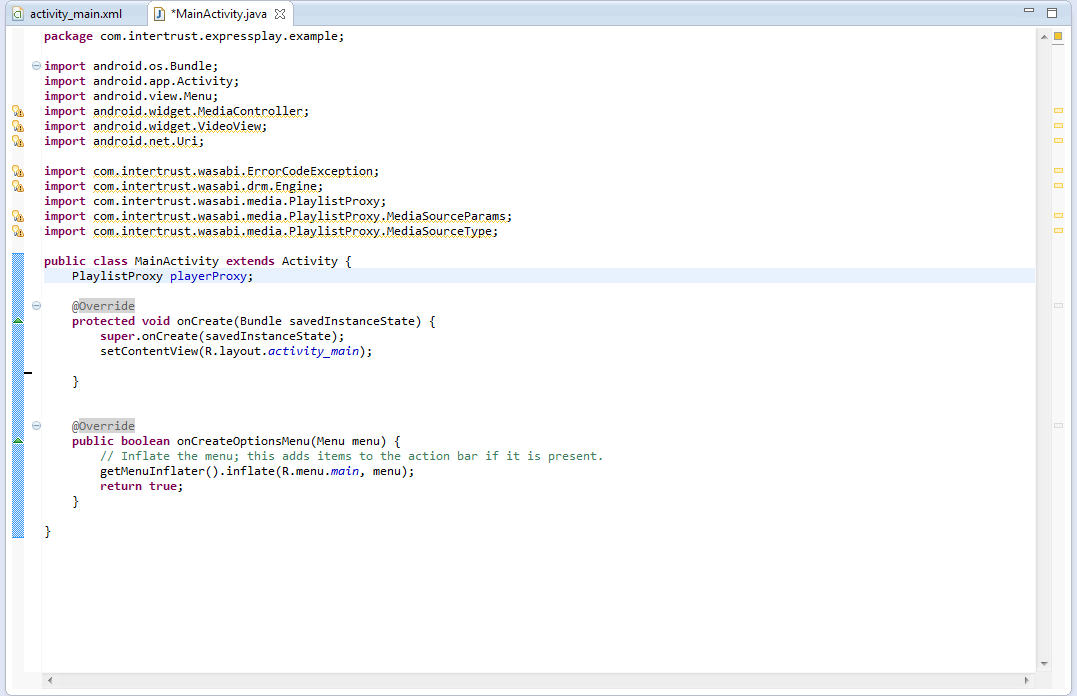
Eight files must be imported into your project for it to be able to use the ExpressPlay functions. Copy and paste the block below under the line import android.view.Menu;.
import android.app.Activity;
import android.net.Uri;
import android.os.Bundle;
import android.view.Menu;
import android.widget.MediaController;
import android.widget.VideoView;

import com.intertrust.wasabi.ErrorCodeException;
import com.intertrust.wasabi.Runtime;
import com.intertrust.wasabi.drm.Engine;
import com.intertrust.wasabi.media.PlaylistProxy;
import com.intertrust.wasabi.media.PlaylistProxy.MediaSourceParams;
import com.intertrust.wasabi.media.PlaylistProxy.MediaSourceType;
Declare the variable playerProxy at the start of the MainActivity class, as shown:
OnCreate Method
Paste the following code into the onCreate method after setContentView(R.layout.activity_main);
// create a MediaController for the video view
VideoView videoView = (VideoView)findViewById(R.id.videoView1);
MediaController mediaController = new MediaController(this, false);
mediaController.setAnchorView(videoView);
videoView.setMediaController(mediaController);
try {
// initialize the Wasabi runtime (this only needs to be done once per app)
Runtime.initialize(getDir("wasabi", MODE_PRIVATE).getAbsolutePath());
Engine engine = new Engine();
if (!engine.isPersonalized()) {
// NOTE: in this small example we perform this personalization step
// in the main thread, but it would be much better to do it in
// a separate thread (asynchronously) so as to not block the user
// interface while this operation completes
engine.personalize(null);
}
engine.destroy();
// create a playlist proxy and start it
playerProxy = new PlaylistProxy();
playerProxy.start();
} catch (Exception e) {
e.printStackTrace();
}
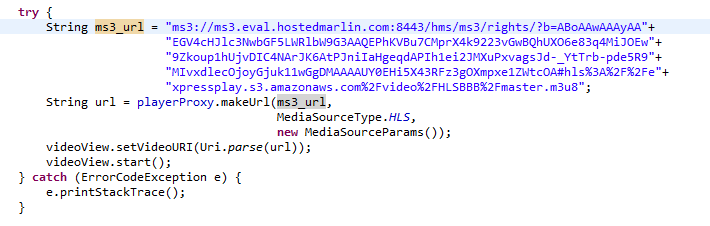
try {
String ms3_url = "ENTER_VALID_URL";
String url = playerProxy.makeUrl(ms3_url,
MediaSourceType.HLS,
new MediaSourceParams());
videoView.setVideoURI(Uri.parse(url));
videoView.start();
} catch (ErrorCodeException e) {
e.printStackTrace();
}
There may be errors due to a bug in the Android SDK, if this is the case save your project and restart it. The errors should go away.
Generating a Valid MS3 URL
The following section provides a link that generates MS3 URLs for the purposes of testing the ExpressPlay SDK, a complete tutorial on how to generate MS3 test tokens can be found here.
A valid MS3 URL can be fetched here. Click on the link and open its contents in a text editor, and copy the MS3 URL.
Go to the MainActivity.java file and paste it into the String ms3_url; replace the part that says ENTER_VALID_URL (remember to put it in quotes).
Internet Permission
Go to the package explorer and open AndroidManifest.xml. Go to the actual xml code.
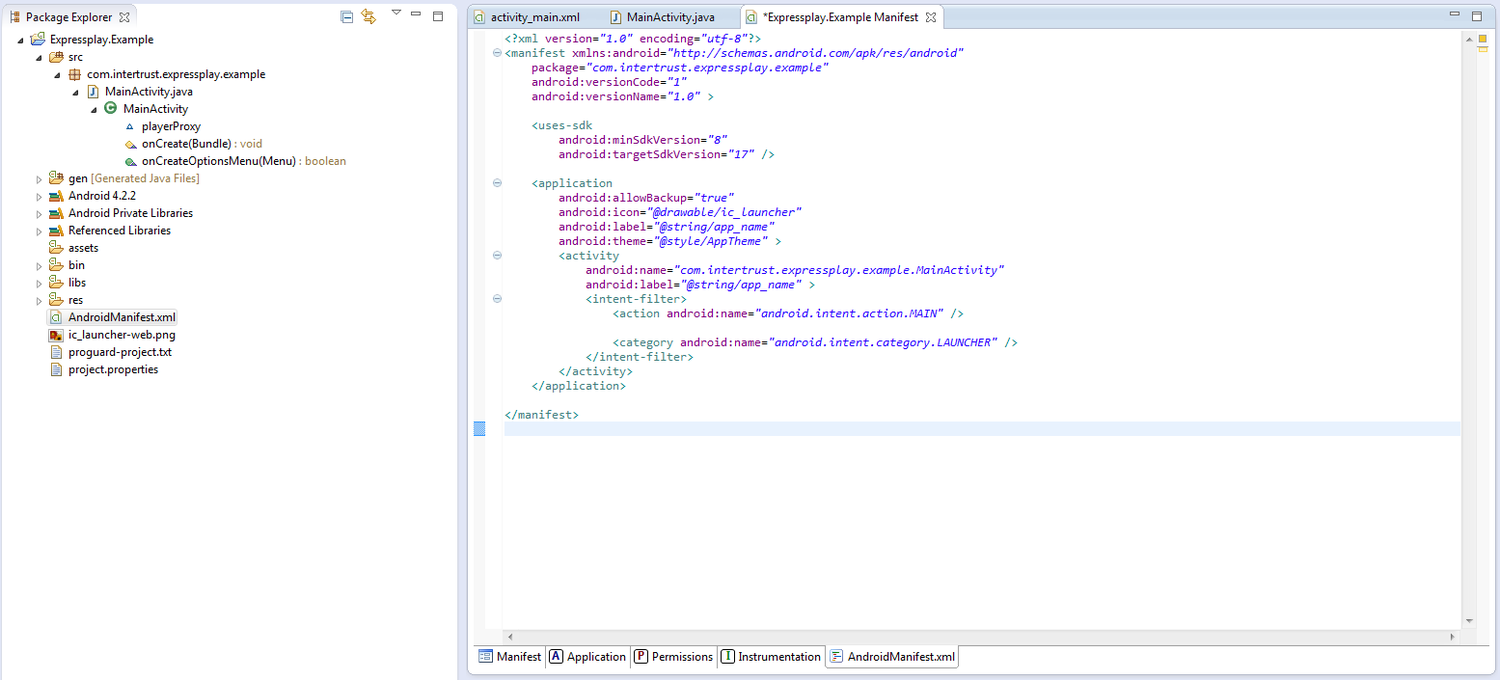
To give the ExpressPlay SDK internet permission add the following code block in between android:targetSdkVersion="17"/> and <application
<uses-permission android:name="android.permission.INTERNET"/>
Now the code is ready to be run.
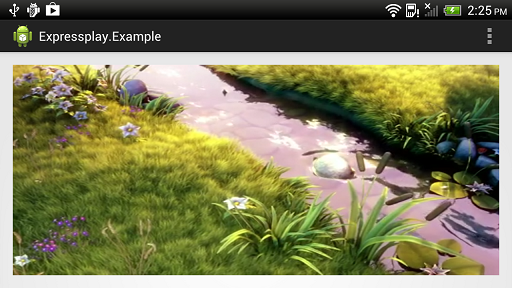
Note: If you are using an Android virtual machine, as opposed to an actual device, the video may not play correctly but you may hear the audio. This is due to the speed of software decoding on the virtual machine.